Showing posts with label Techniques. Show all posts

Sunday, 16 February 2025

Stained glass birthday card

Hello there,
Welcome to my blog and follow my work on social media.

I am back here after a long gap. I had some personal work and hardly time to craft or even colour. I finally caught some time to make two cards from one die. I saw this die from Die cuts and more - 

SLIMLINE STAINED GLASS B/G DIE. I did inking and die cut in-lay for the cards. 


CARD 1


For this card, I die cut the outline from black cardstock and kept it aside. 
I used a white cardstock and colour the pieces using alcohol markers and added them to the die cut base using in-lay technique
I set aside the white outline base for the next card
I used white gel pen for highlight and then added a sentiment

CARD 2


For this card, I took a white cardstock and inked it with rainbow colours. 
The notecard is slimline and trimmed the inked base accordingly
I added an acetate sheet and then the white outline to the card
I finished with some embellishments and a sentiment.


Challenges entered:

Thank you for stopping by and hope you all enjoyed the card.
Stay happy and keep crafting.

Monday, 22 July 2024

Sparkle all the way

Hello there,
Welcome to my blog and follow my work on social media.

(SCROLL DOWN TO SEE CLOSE UP OF CARD)

Lets make a card using Geo arch stencil and Foliage shaker die from Pink fresh studio. Its not the usual card I always make but there is a twist here. Lets start with stencilling first. Its a layered stencil and I used 3 colours for stencilling and creating a base. I kept it aside and did some die cutting using foliage shaker die. I used a very thin cardstock and hence had to do quiet a few die cuts. One die cut I did using silver sparkle cardstock. I stacked them all together and let them dry under some heavy weight. While they were drying, I drew two hexagons on the stencilled base and cut them out. I pasted the rest of the base to a top fold white note card and used double sided foam adhesive to add the hexagons as they will give some dimension and beautiful effect to the card. I finished the card with a sentiment and some gemstones. 


Challenges entered:
https://www.pinkfreshstudio.com/blogs/card-making-challenges/july-2024-challenge

Thank you for stopping by and hope you all enjoyed the card.
Stay happy and keep crafting.

Tuesday, 28 March 2023

My little sidekick layout

Hello there,
Welcome to my blog and follow my work on social media.

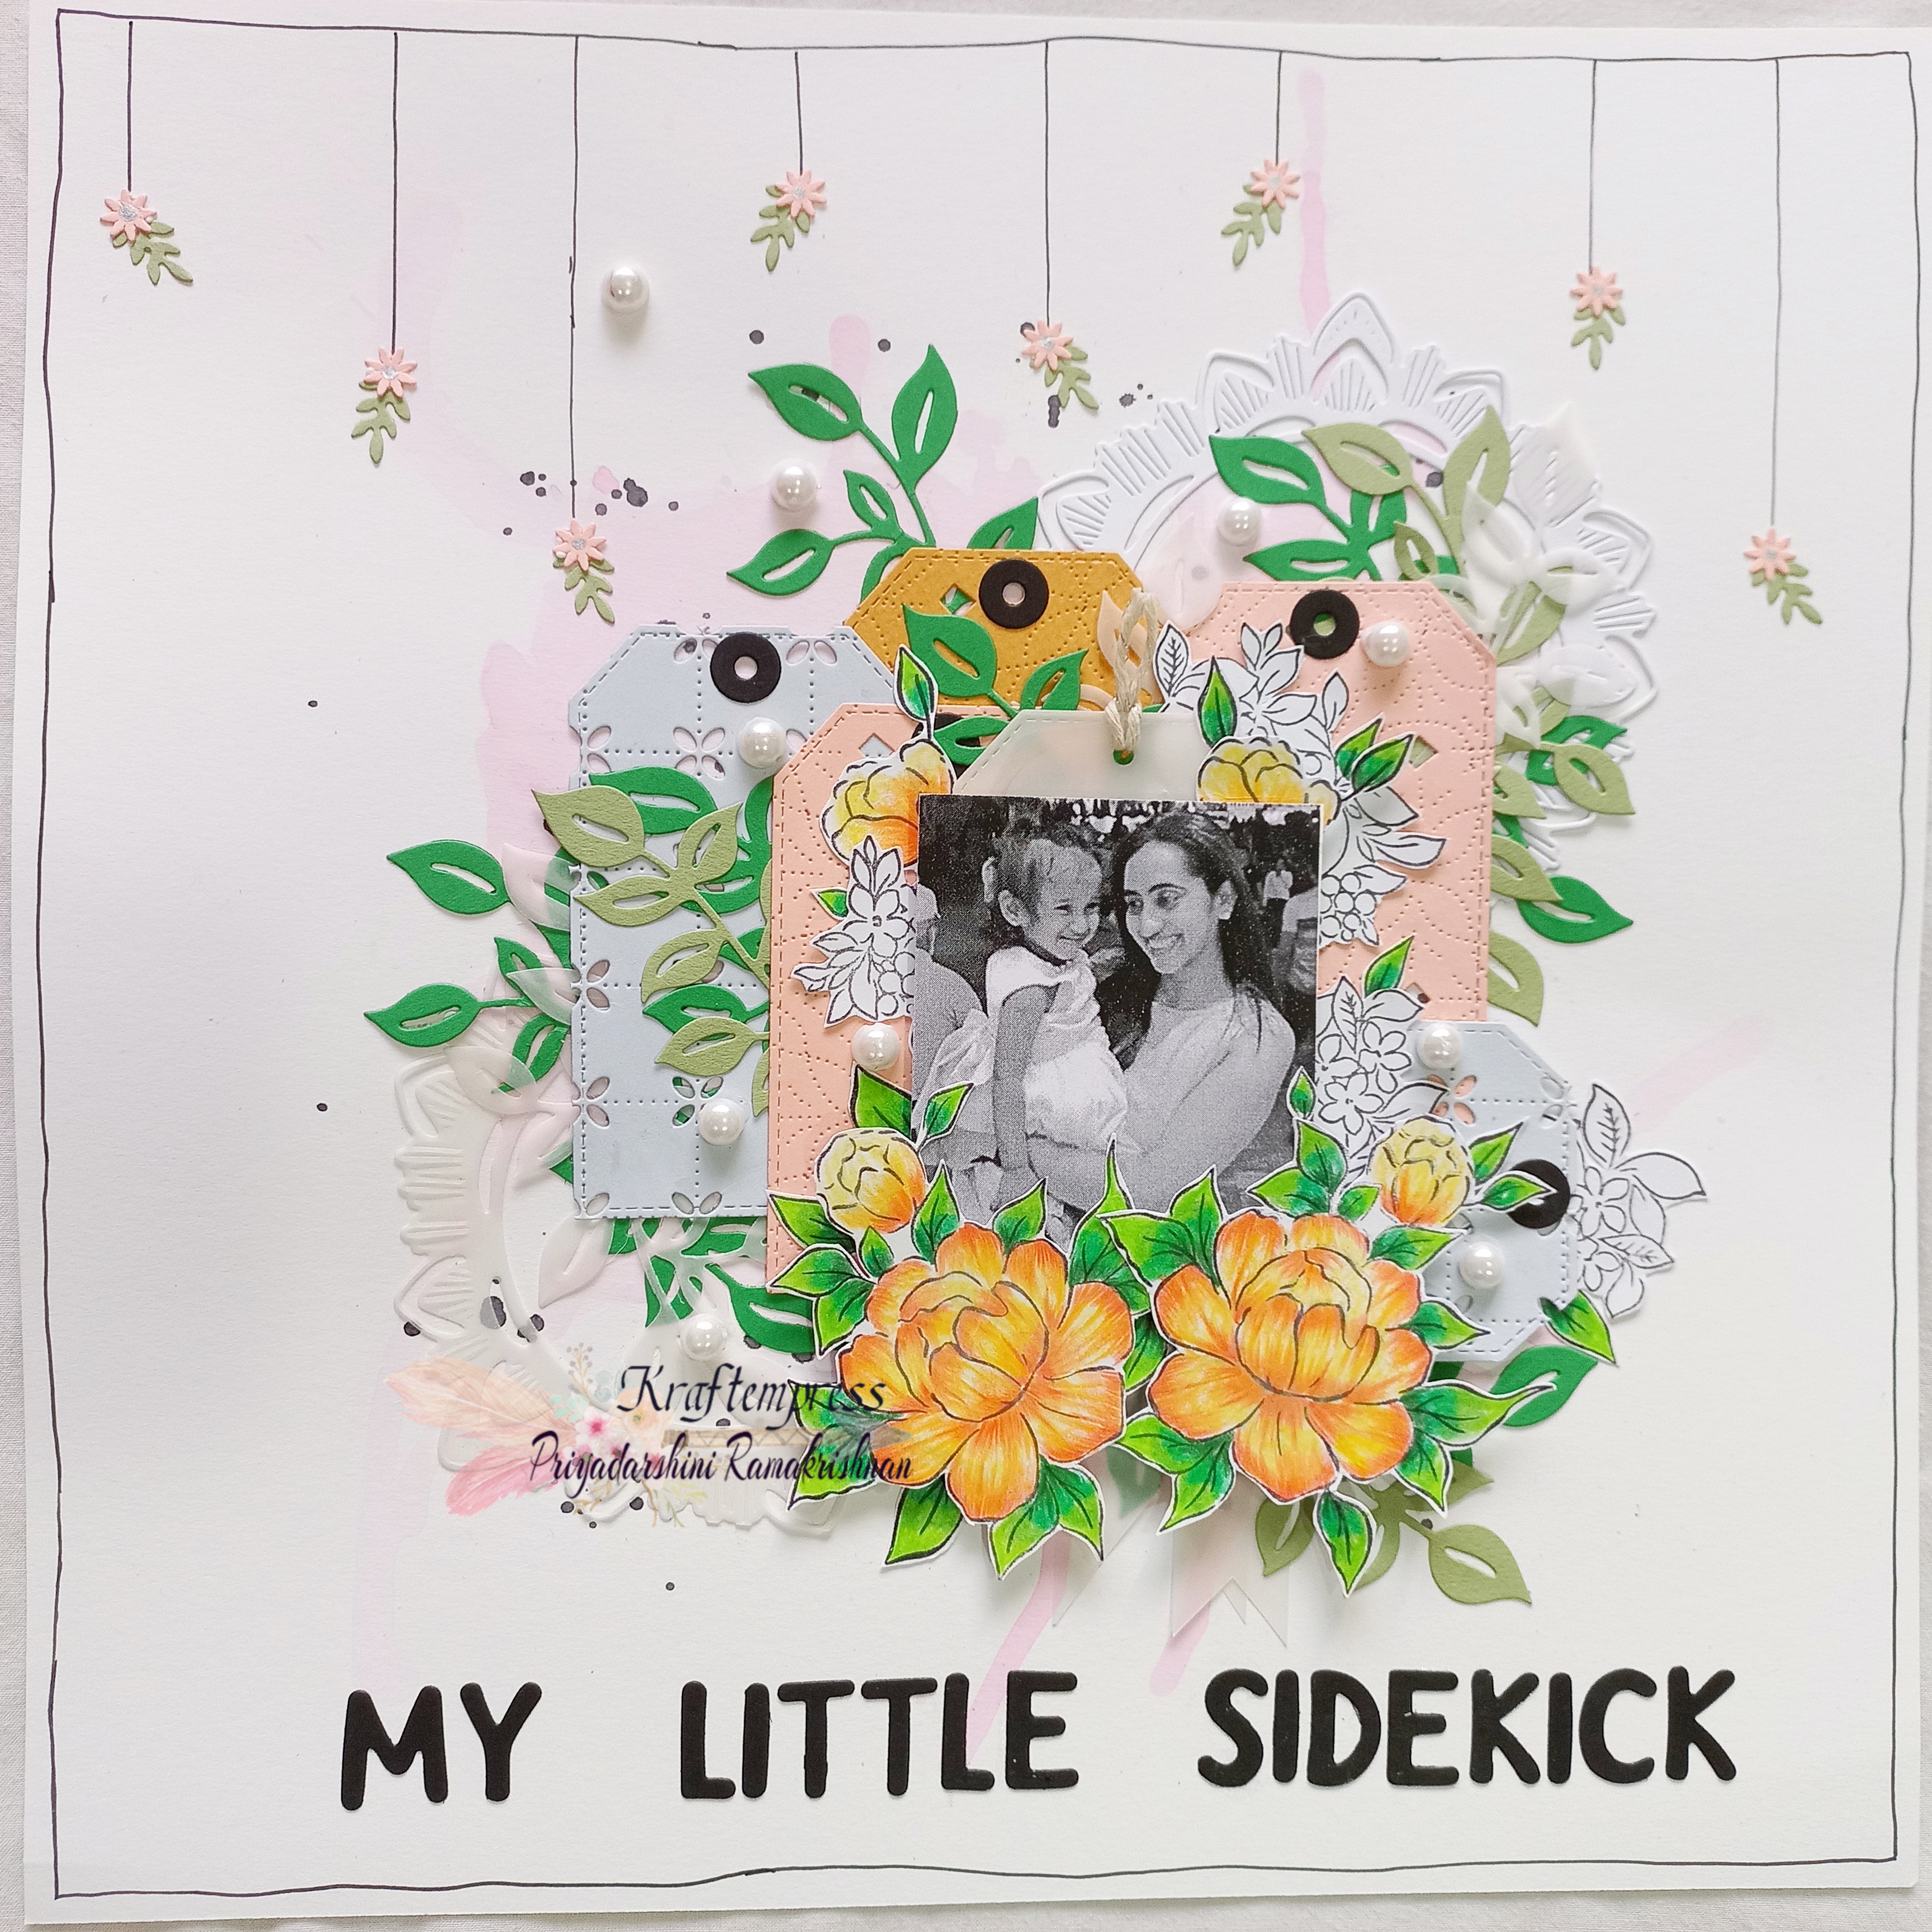
I am here with a layout and I call it My little sidekick who is my cute little niece. She is full of energy and fun and extremely naughty. As an aunt, I love her too much and decided to make a layout using our picture. I am playing with Pink fresh studio monthly challenge and using a products from Pink fresh. I the theme is layers and I have a few layers here stacked up. I used Choose hope, Ornate medallion cover die and Floral grid cover die for giving texture to the die cut tags along with Curvy leaves die and Ornate circle die. I die cut pieces from cardstock and vellum sheet and added my picture and the coloured image and finished the layout with pearls and die cut sentiment. 


Challenges entered:

Thank you for stopping by and hope you all enjoyed the card.
Stay happy and keep crafting.

Wednesday, 17 August 2022

Perfectly perfect

Hello there,
Welcome to my blog and follow my work on social media.

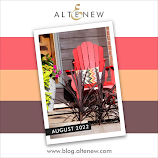
I am back with another floral card using Springtime Azalea and Perfectly perfect from Altenew. These are gorgeous floral images and work beautifully with summer or winter theme. I worked with the colour scheme that goes with this month's challenge at Altenew and stacked up the florals. 

I didn't have the exact shades but I went with orange, red for flowers and brown for leaves. I loved adding details to the flowers using markers and white gel pen. I also went ahead and added some deatils with silver gel pen. I added a border to the note card and and the stacked up the images and added some gemstones and finished with sentiment. 


Challenges entered:

Thank you for stopping by and hope you all enjoyed the card.
Stay happy and keep crafting.

Tuesday, 5 July 2022

Pretty gift bag

Hello there,
Welcome to my blog and follow my work on social media. 

I am back with a pretty project for Swati craft corner using our new release and the most gorgeous vintage theme papers I've used - Timeless Classic. These papers are just brilliant for any occasion. We can use these sheets for birthdays, anniversary, mother's day, father's day, valentine's day and more. I have a simple gift bag that looks like a handbag and there is a lot of room to put small gifts and keep some personal messages too or even a mini album. There is a lot of work here with some handmade flowers and die cut leaves and some laces and lather faux charms too. 


Thank you for stopping by and hope you all enjoyed the roject.
Stay happy and keep crafting.

Saturday, 17 July 2021

Mixed media gift bag

Hello there,
Welcome to my blog and follow my work on social media.

I m back with another project for Swati Craft Corner using Floral dreams and coordinating element sheet along with watercolours from Beyond inks. I made the brown bag from scratch using Kraft cardstock, then started working on it. 

I first applied two coats of clear gesso as I will be doing some watercolouring work to the base. Beyond inks colours are the best. They are so vibrant and amazing to use. you can see how vibrant the colours are on kraft cardstock. I used sheet from the paper pack to first die cut a circular frame and then used the floral pattern from another sheet. I added all the elements together by layering one on top of the other. To finish the bag, I punched holes and added lace to it and a metal butterfly as well. 


Thank you for stopping by and hope you all enjoyed the card.
Stay happy and keep crafting.

Thursday, 20 May 2021

Cut-it up technique card

Hello there,
Welcome to my blog and follow my work on social media. 

I have simple technique card - cut it up technique using floral stamps. I did a lot of masking for this card since I have to do multiple layers of stamping. I could have done fuzzy cutting and layering but it will make it difficult to cut them out. The best is to do masking for this technique and that works the best. 

To make this card, I used Smile More stamp set from Altenew. I stamped a lot here, first on masking sheet and then on cardstock. There was a lot of cutting to do for me to mask the flowers and leaves for stamping and mild inking the background. I used peach shade to colour the flowers and used white gel to add some details. After I finished colouring and stamping, I turned the card over and drew some lines with a pencil. Using them as guide, I cut the card and added that to a black cardstock. I started with the bottom most part and then using white dye ink, I also stamped a sentiment and then added up other parts too. To finish the card, I stamped the sentiment and added sequins. 


Challenges entered:

Thank you for stopping by and hope you all enjoyed the card.
Stay happy and keep crafting.

Tuesday, 18 May 2021

Slimeline card using scraps

Hello there,
Welcome to my blog and follow my work on social media.

Of late I am addicted to making slimline cards and I am back here with another one using scraps I had and tried a technique which I suppose is quiet old called paper piecing. From this technique we can get a lot from scraps we have left over. 
For my card I used Fairlytale homes - house tea pot and Little darling Frog princess. I created a small scene here using three images and scroll down to see the close up to see how I used the scrap pieces. 


I have two grass layers here. The bottom most layer I used a scrap white cardstock I had which I earlier used for ink masking. I just inked it u with two shades of green. 
For the next layer, I used scrap pattern paper and inked the edges with dark green ink. 
For the sky, I used an old strip of pattern paper I had which compliments the scene created here. 


For the prince and princess I did the same. First, I stamped the images on white card stock. I coloured the skin, hair, frog, the prince's armor, cape and sword. 
I stamped the same images on scrap pattern paper and did fuzzy cutting. Generally I will leave a little gap around the image but this time I did a very close fuzzy cutting. 

I added pattern paper to the princess dress, where I used two different designs. 
For the prince, I used pattern paper for the shield, his shoes and the thing on his helmet


For the tea pot, I directly stamped it onto a pattern paper. This is a double sided pattern paper and this side has almost plain design. I added highlights using colour pencils and fortunately the side I chose has design that makes it look old and goes with the scene. 
I added all the pieces together to create the scene and finished with stamping a sentiment. 


Challenges entered:
http://yournextstamp.com/blog/challenge-164-comment-for-the-chance-to-win/

Thank you for stopping by and hope you all enjoyed the card.
Stay happy and keep crafting.

Saturday, 20 March 2021

New season, new technique hop - 1 stamp 4 cards

Hello there,
Welcome to my blog and follow my work on social media. 

I am super happy to be a part of a collaboration hop in YouTube with other amazing crafters. I should say I enjoyed working on this hop. I initially had to break my head as I had absolutely no idea how and where to start working. The theme is new season new technique and there is so much we can do but I had very little time to start work. I was literally panicking and was rampaging my stash to check for stamps, dies, pattern papers, etc... I choose some pattern papers but decided I wont be using them (I have been working a lot with them and I felt my stamps were left too lonely and they missed me as I missed them too :) lol). 

I picked out a few Altenew stamps, heartfelt stamps and craftyscrappers floral stamps. To narrow it down I turned to my husband and my friend and they helped me with finalising this beautiful Peony stamp set from heartfelt creations. Next came the technique.. I was totally stuck out here. Day and night I was on YouTube and researching on what new technique I can do. Thats when I decided to work on different backgrounds for cards. Check out the video to see how I made these cards and below there is final look at the cards. 


I went with One stamp and different backgrounds and when it comes to seasons I went with all 4 seasons. I made a card for each season and chose a colour from the palette. For spring I went with Purple and made a monochrome/tone on tone card. For summer, I went multicolour background and chose shades from tiger lily for the flower. For Autumn, I went with earthen tones and coloured the flower on karft cardstock with a diec ut background. And finally for Winter, I went with Blue and softer tone to make a card and added a heat embossed piece to the background. 


Challenges entered:

Thank you for stopping by and hope you all enjoyed the card.
Stay happy and keep crafting.