Hello there,
Welcome to my blog and follow my work on social media.
This is a post where I made two different backgrounds using stencils from Tubby Craft along with stamps and inks. Stenciling is so relaxing and gives us different backgrounds for our cards. We can use inks, embossing (dry and heat), add texture paste, use mousse and much to stencils and create backgrounds.


Thank you for stopping by and hope you all enjoyed the card.
Stay happy and keep crafting.
Welcome to my blog and follow my work on social media.
This is a post where I made two different backgrounds using stencils from Tubby Craft along with stamps and inks. Stenciling is so relaxing and gives us different backgrounds for our cards. We can use inks, embossing (dry and heat), add texture paste, use mousse and much to stencils and create backgrounds.
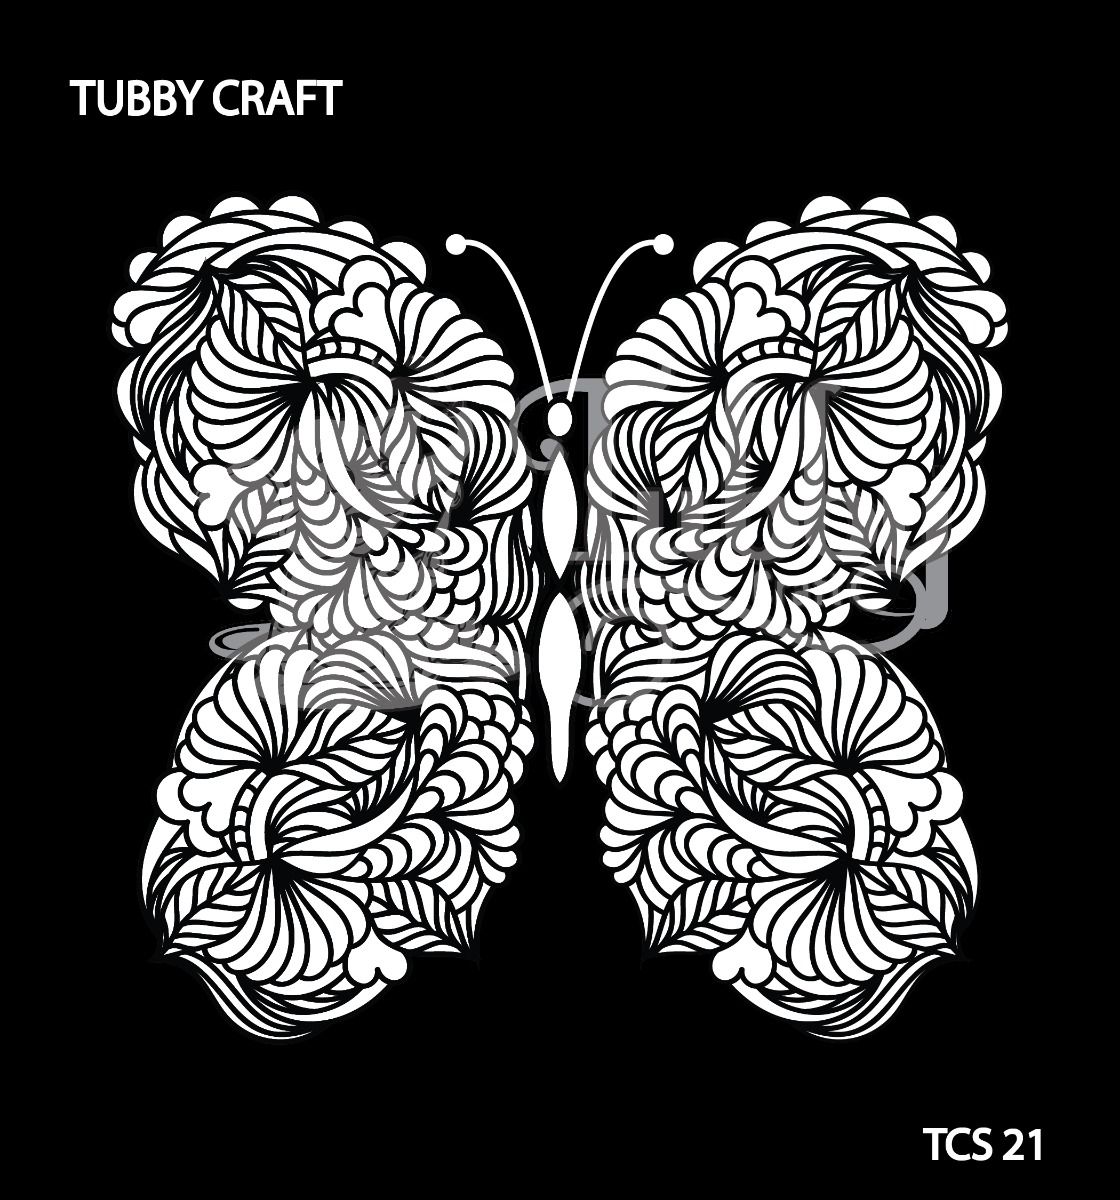
Card 1

For this card, I used Butterfly stencil and Liliac purple ink. I used ink blending tool and dabbed off the excess ink. I didn't want the entire butterfly and stenciled only half of it.
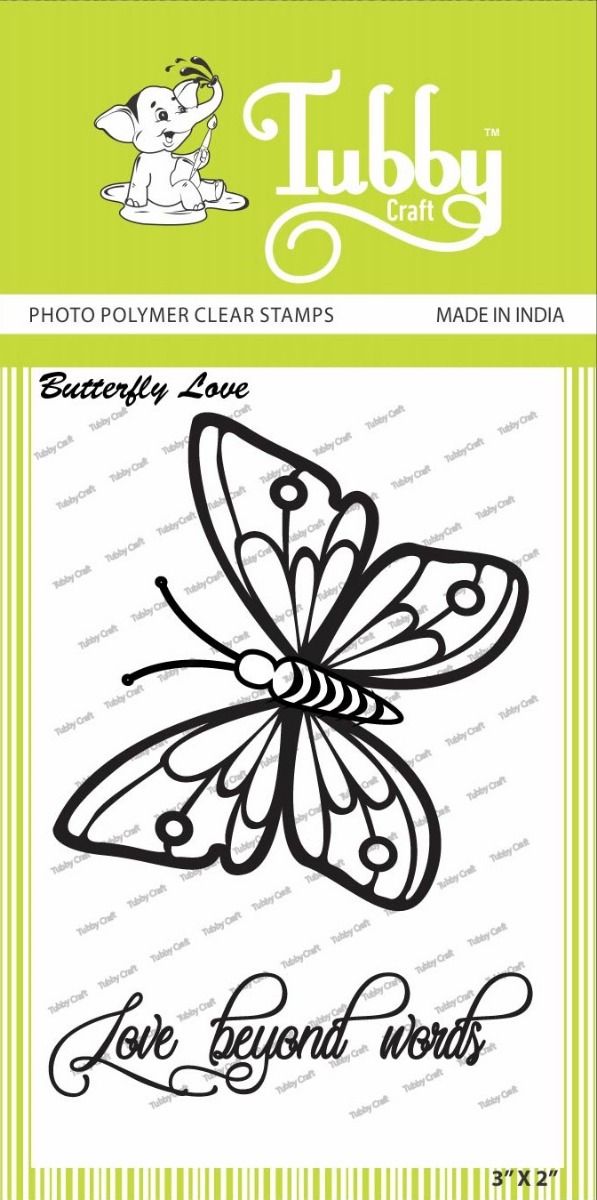
I used butterfly love stamp (my favourite) and stamped and coloured the image.
I took a piece of vellum sheet, since I wanted the background to be visible and yet add the image and sentiment. I tore the edges and placed it in the middle.
For the sentiment, I used Special day greetings stamp set.
To finish the card,I added some gemstones. Then used a dark purple cardstock for the base.


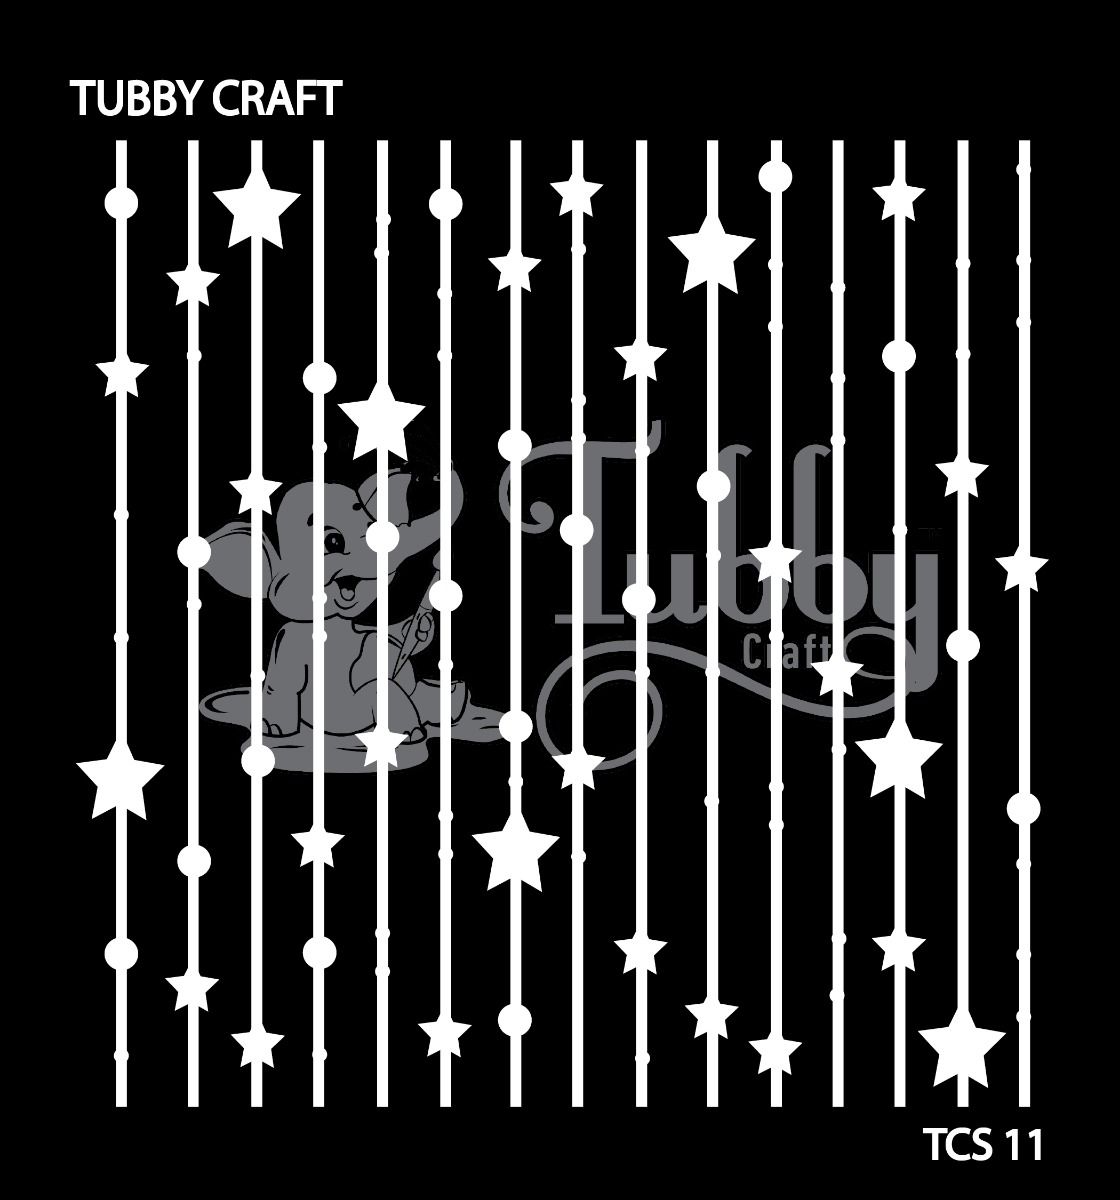
Card 2

To make this card, I took a black cardstock and used Stars and circles stencil for the background. For stenciling, I used white texture paste. The reason for using texture paste is, it gives some dimension and some texture too the background.
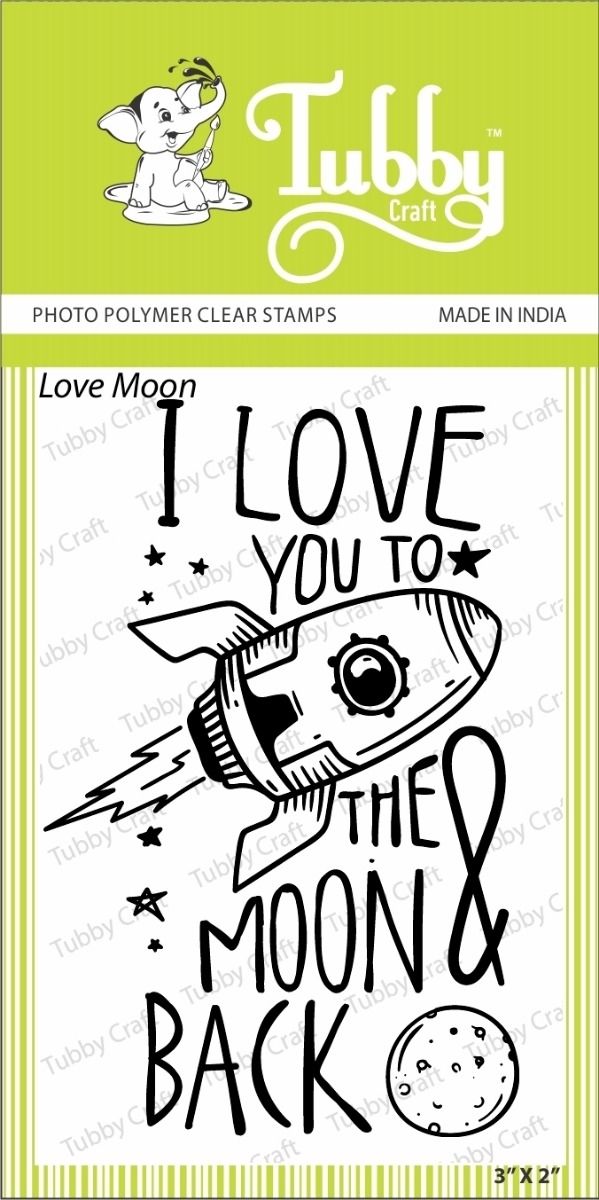
While the paste is drying, I used Love moon stamp for this card. I coloured and trimmed it our. I added some green ink for the edges.
After the background is completely dry, I added the stamped image to one corner of the card.
To finish the card, I added some gemstones and placed it on to a top fold white notecard.


Stamps
Inks
Stencils
Stay happy and keep crafting.
No comments:
Post a Comment